1.1. Initialize your environment
Step 1: Create a free account and login to Grafana cloud
Please register your self at grafana labs
-
Go to this url register to grafana to register an account
-
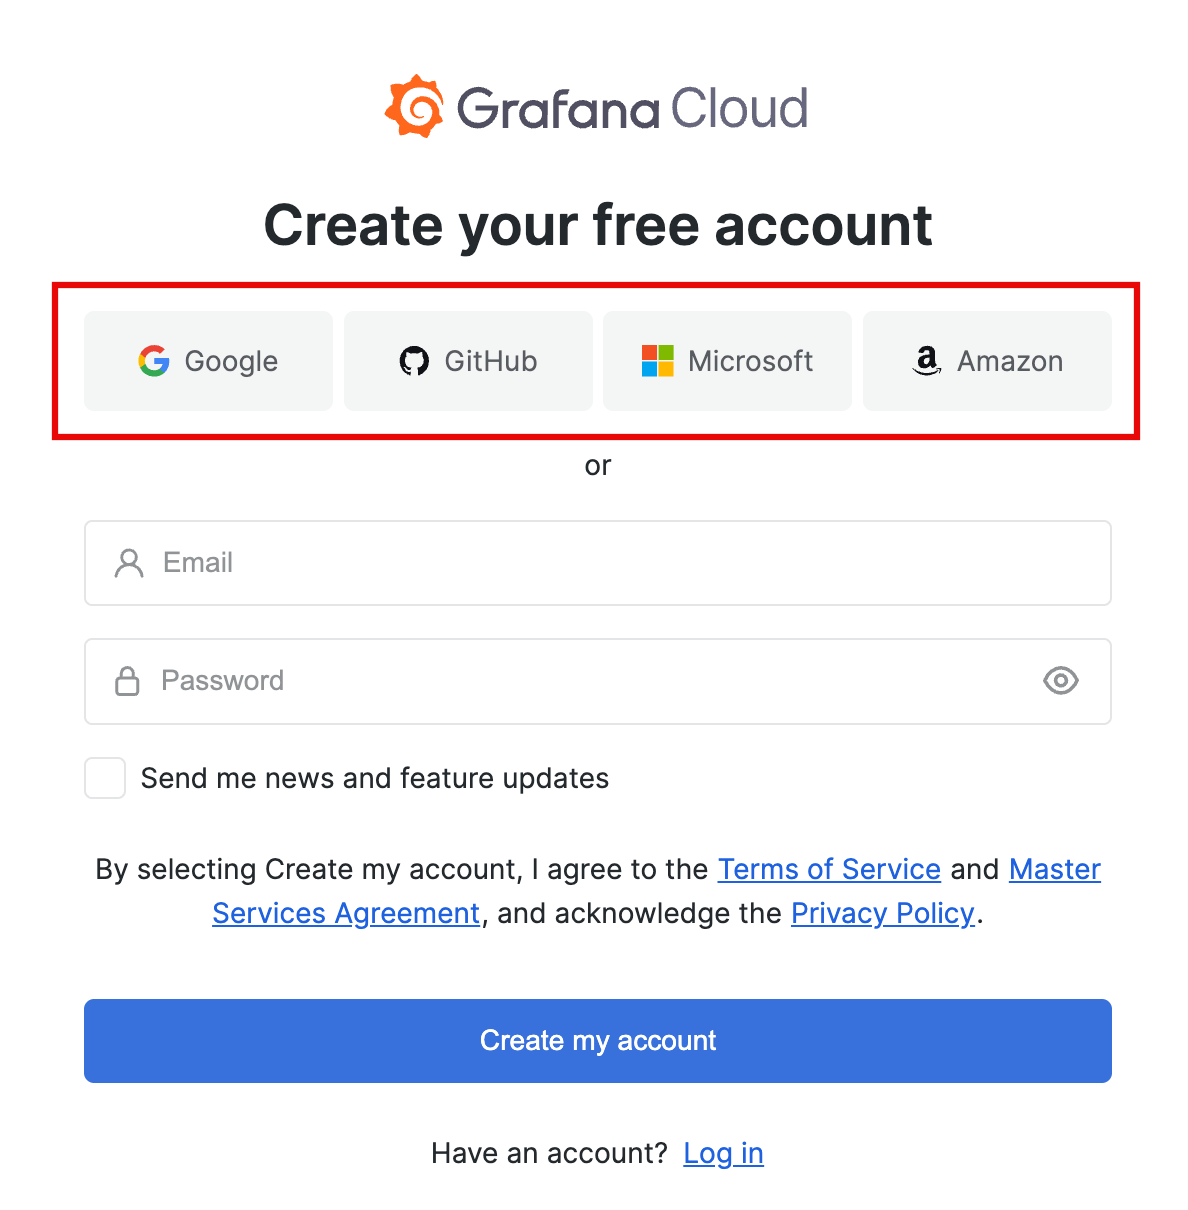
If you are presented with a choice of registration options. The easiest to use one of authentication providers.
-
Create your first stack, choose your stack URL for this workshop please use Singapore as your region
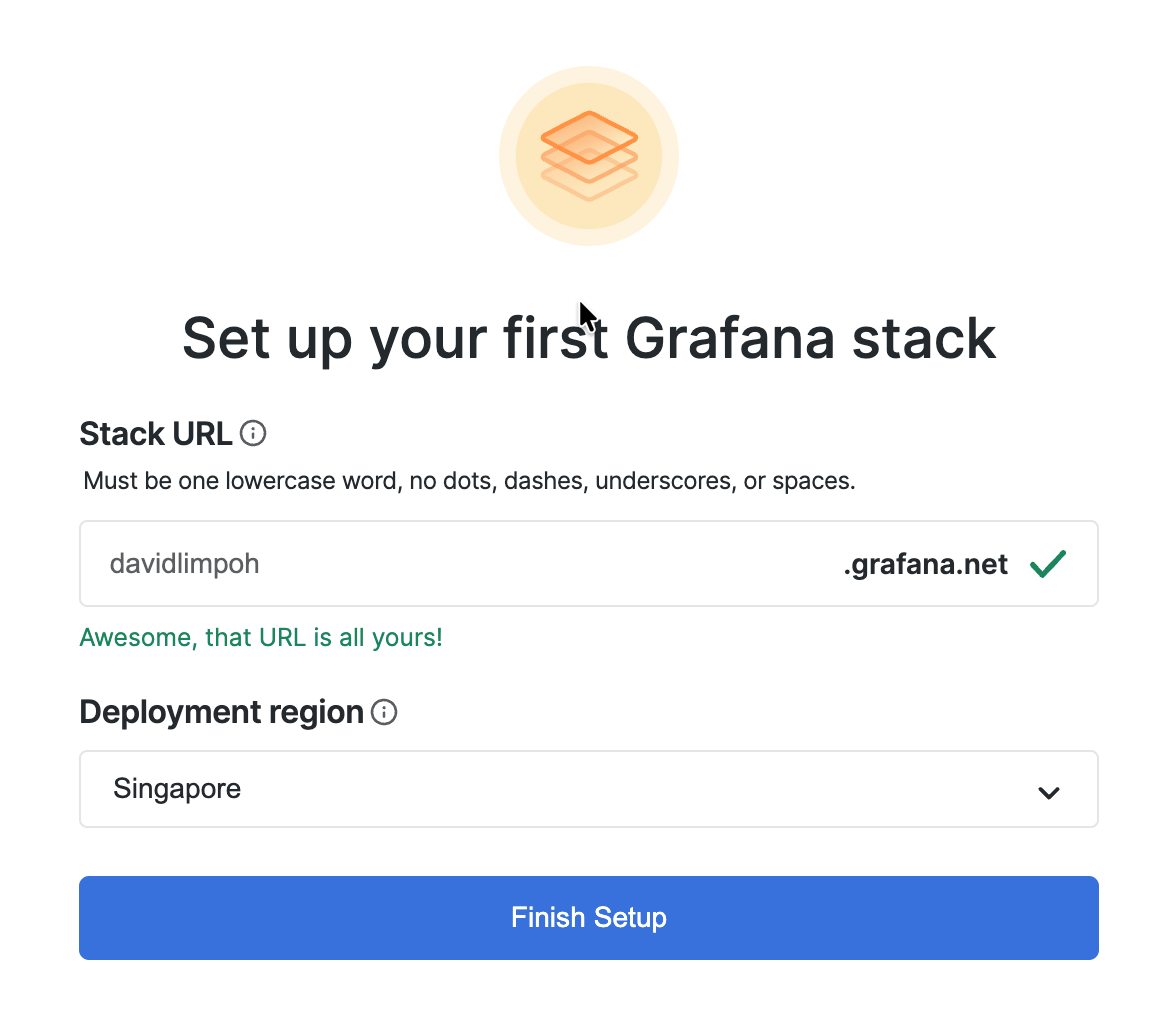 it might takes a while to create a new stack
 -
On the onboarding page, you can select I'm already familiar with Grafana Cloud and Skip setup
-
Choose See all data connections
-
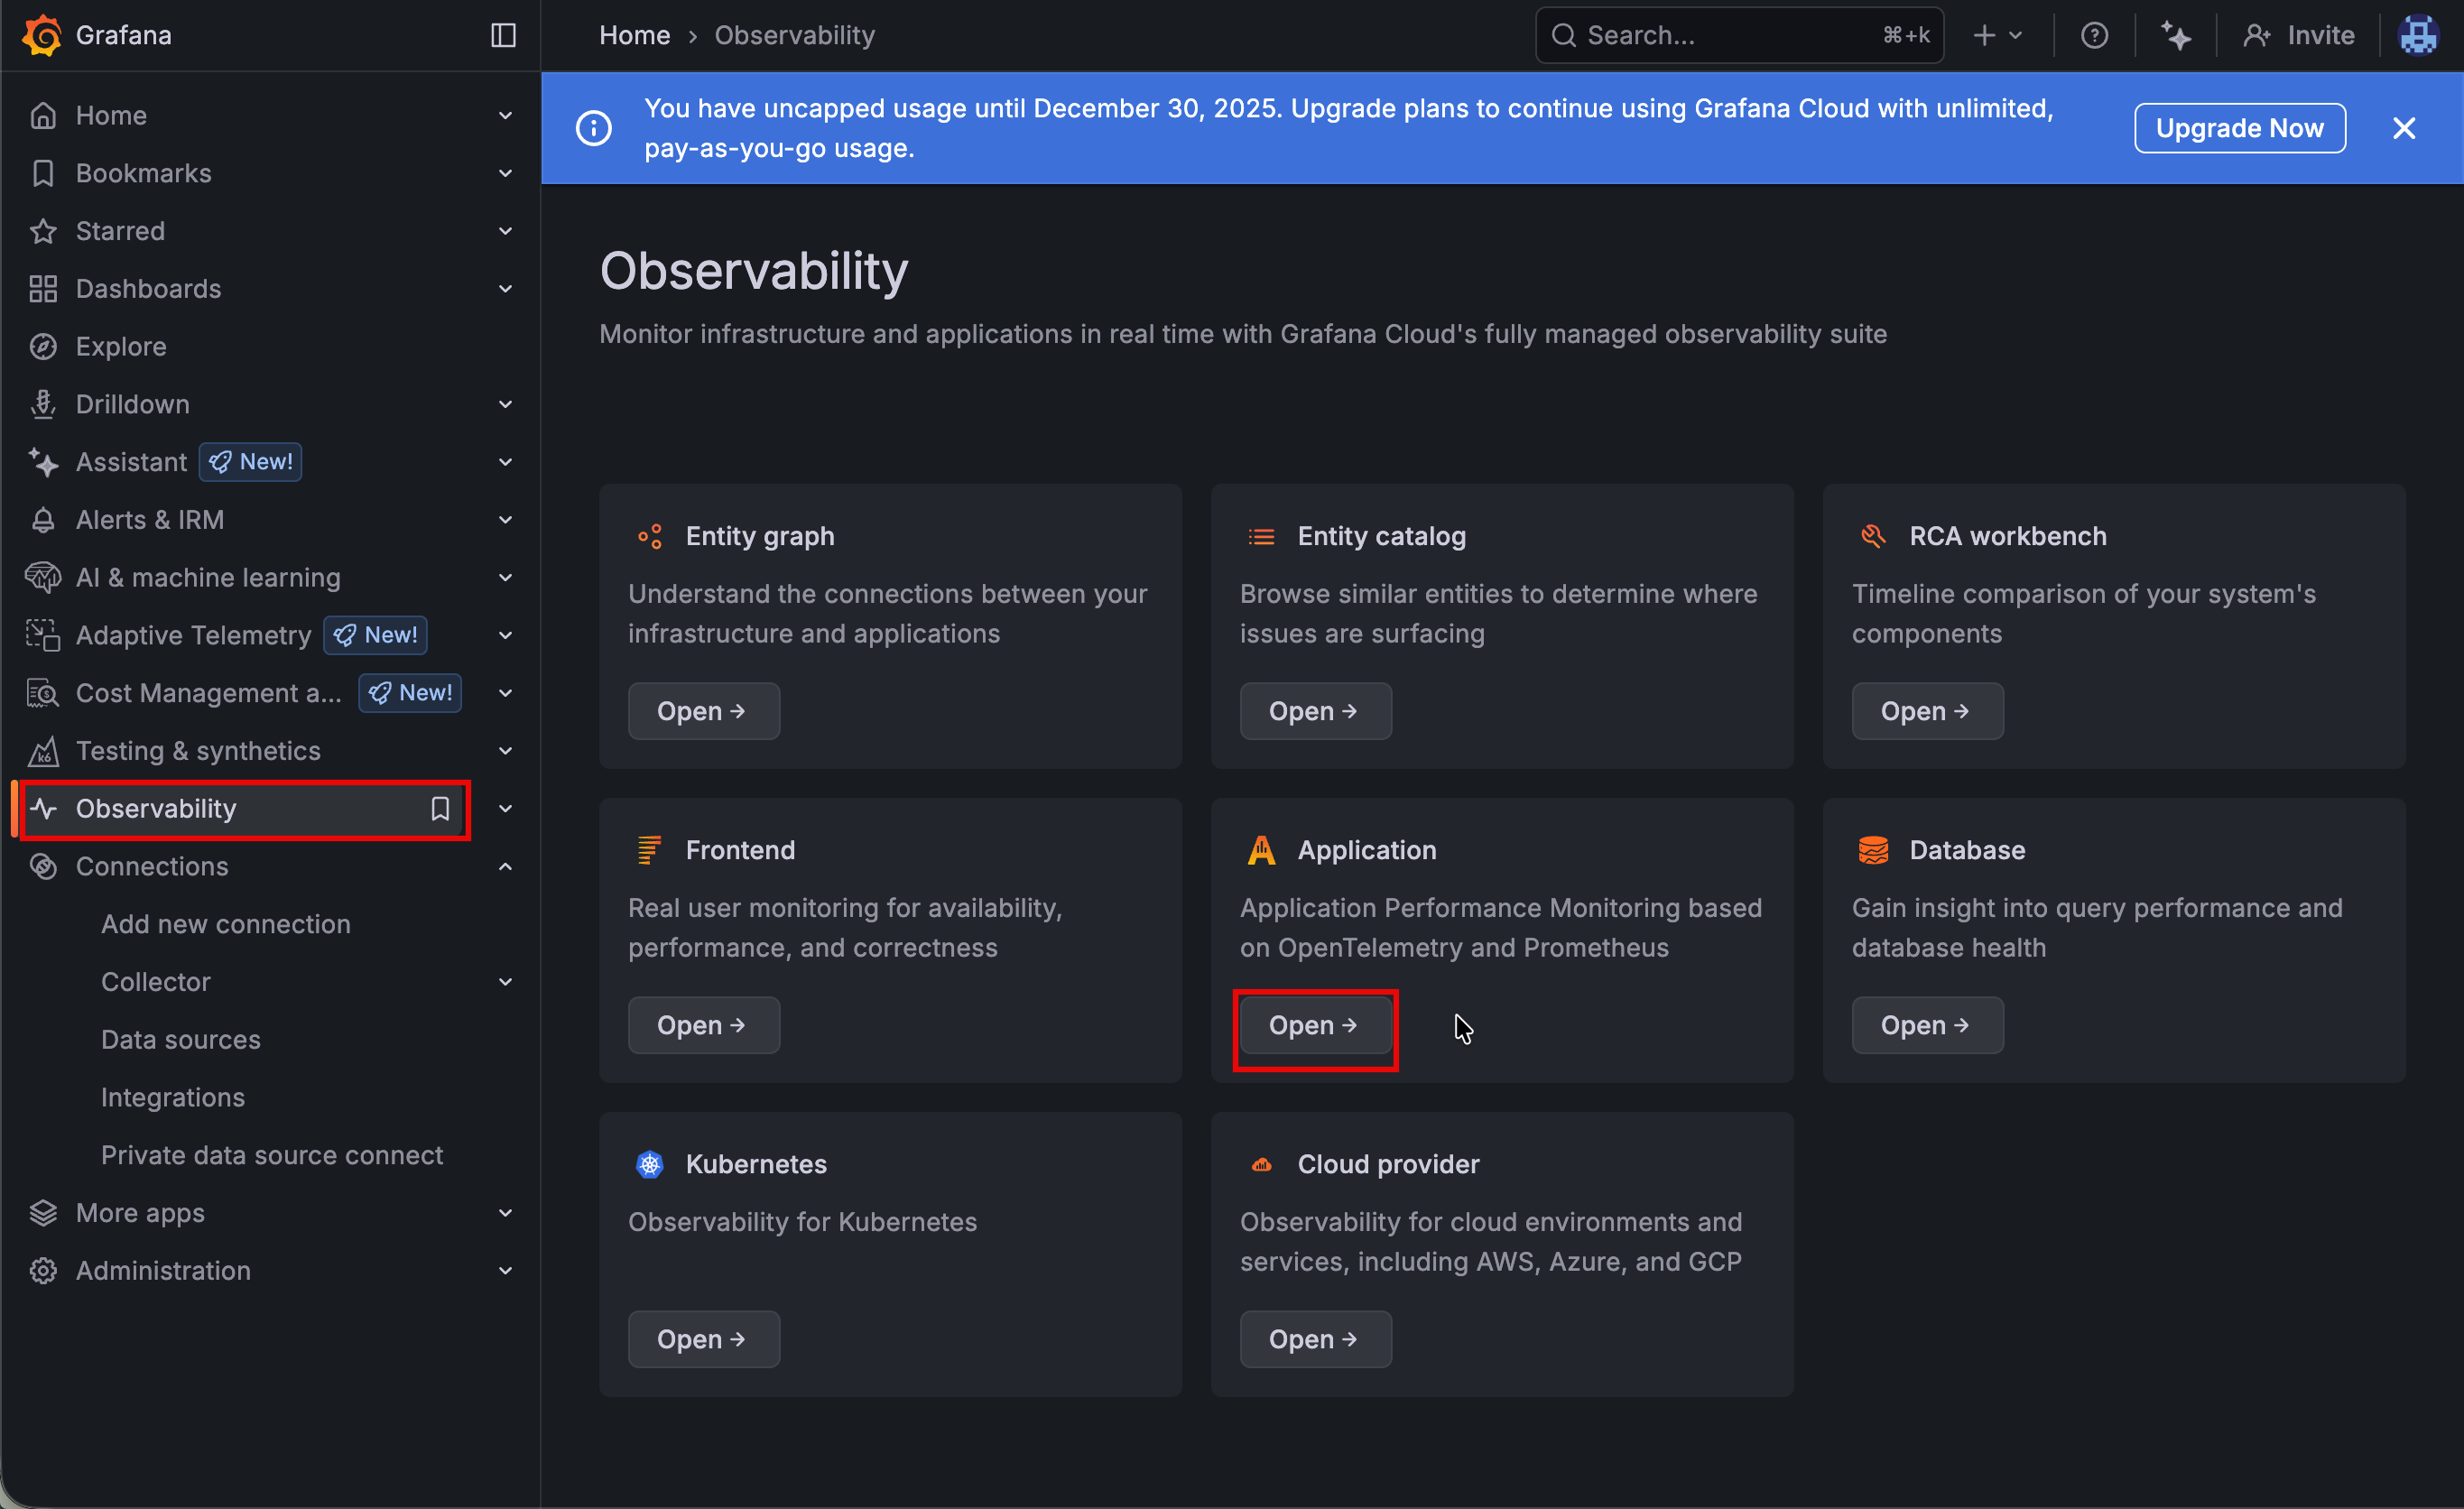
Navigate to Observability -> Application
-
Activate Application Observability and click Connect data
-
Select OpenTelemetry (OTLP) and follow step-by-step process
- Choose your instrumentation method : OpenTelemetry SDK
- Choose your language : Other
- Choose your infrastructure : Linux
- Choose your instrumentation method : Grafana Alloy
- Create a Grafana Cloud access token : workshop-otel
- Create token
- ⚠️ Please copy the token to be used on the later steps
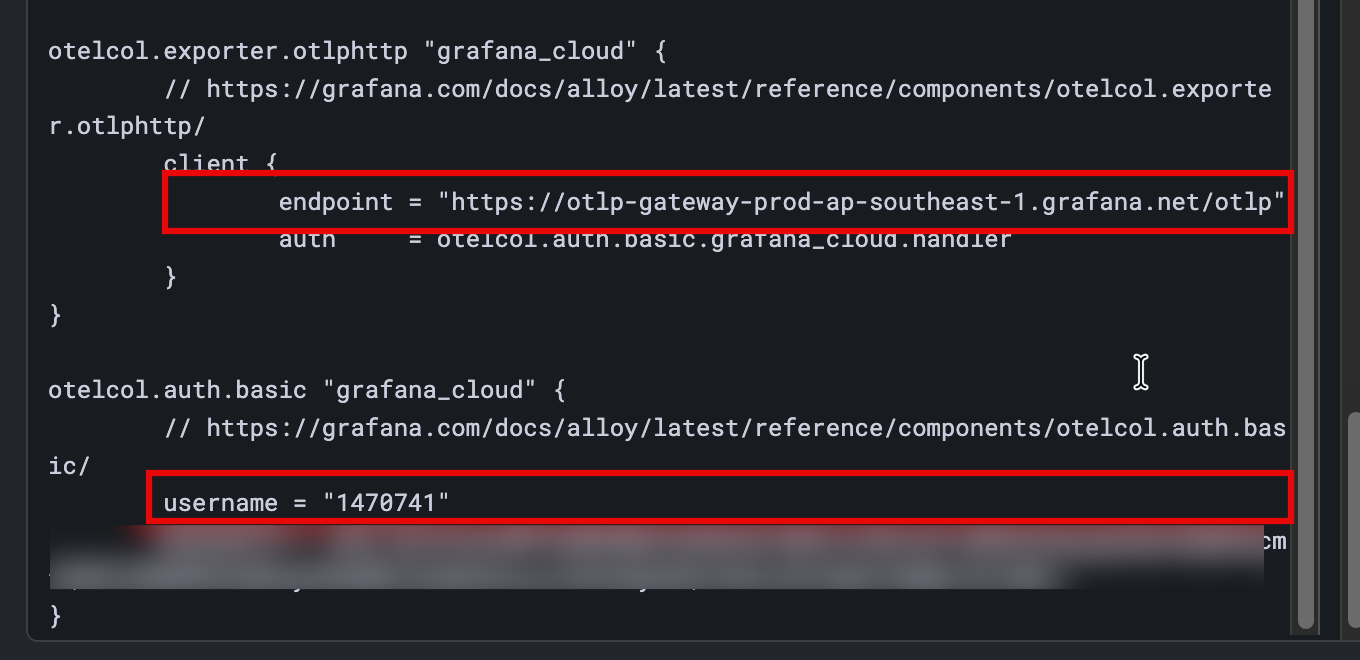
- Scroll down under alloy config and copy otel path and user name
-
Right now you will have three information, ⚠️ keep this information when configure the alloy on the next steps
- GRAFANA_CLOUD_OTLP_ENDPOINT = "The url endpoint"
- GRAFANA_CLOUD_OTLP_USERNAME = "The username"
- GRAFANA_CLOUD_OTLP_PASSWORD = "The token"
Step 2: Log in to your github account
-
Log in to your GitHub account.
-
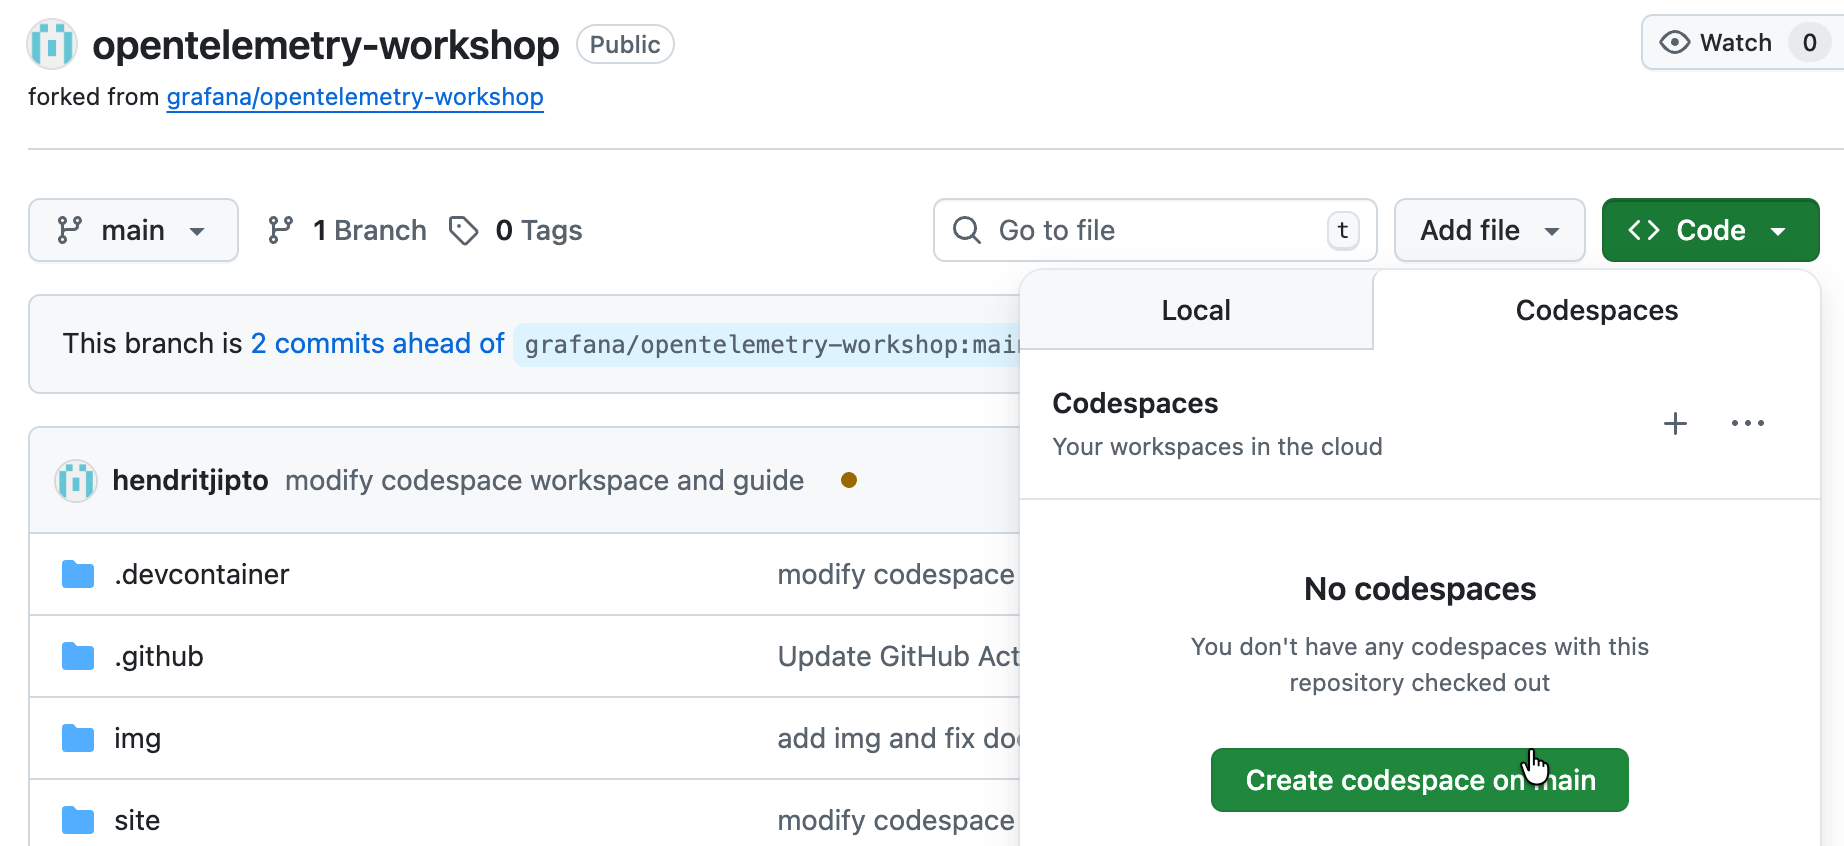
Go to https://github.com/hendritjipto/opentelemetry-workshop.
-
Click Code and then select Codespaces to launch a new codespace for this repository.
-
Change the theme to suit your preference: click on the Command Palette icon located in the top right:
-
Then type theme to find the Theme command in the list.
-
Then, select a theme of your choice. Light? Dark? Whatever you prefer!
-
Step 3: Run the demo app
In this first lab, we'll be working with demo application called Rolldice.
Let's test out this app:
-
Launch a new Terminal by going to Terminal -> New Terminal
-
In the terminal, run the following command to copy the first project into your persistent workspace:
cd ./source/rolldice/ -
Then, run the following commands to start the application:
./run.shThe application starts.
-
Create a second terminal, either using the split terminal icon (located at the right edge of the tab bar where "Terminal 1" is located), or by going to Terminal -> New Terminal.
-
In the second terminal, use curl to make a sample request to the rolldice service:
curl localhost:8080/rolldiceThe rolldice service returns a random number.
-
Change back to the first terminal by clicking on its tab, then press Ctrl+C to stop the application.
Summary
You've just run the demo application that we'll use in this lab. However, the application is rather isolated, and so far un-observed!
In the next lab, we'll add OpenTelemetry instrumentation to the app, and begin shipping telemetry signals to Grafana Cloud.
Click on the next module below to proceed.